Editing the Model
Now that you have learned how to make a copy and run a case study, we will now go over how to edit the information in the case study. Knowing how to edit a case study allows you to make alterations to the case study as you please.
This tutorial will go over each step in the model and demonstrate the changes you can make to the model.
Step 1 - Model Type
Step 1 is where the model type and time basis are defined. For a copied model, you should leave the model type and time basis as is. Running a model as a management-type model will give different result files than running the model as a design-type model. As a rule of thumb, design-type models have technology candidates whereas management-type models do not.

Since the waste to energy example does not have technology candidates, it is a management-type model.
Steps 2, 3, 4 - Adding Supply, Technology, and Demand Data
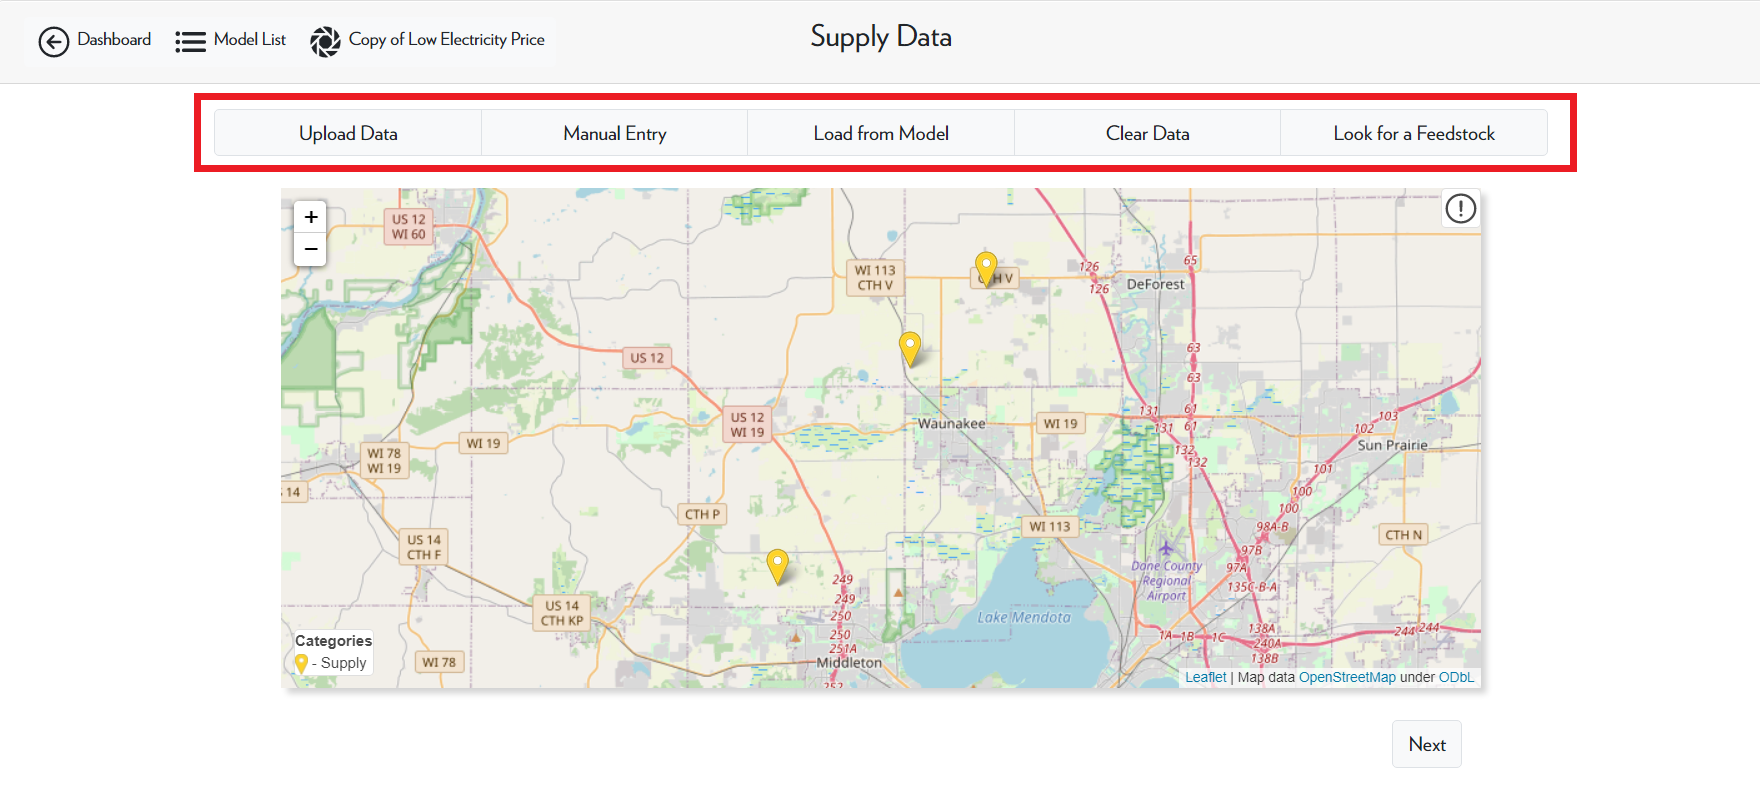
For steps 2-4, you can double-click the nodes from the case study to edit their information.

In addition to editing existing nodes, you may also add new data. Upload Data is used when you have a CSV file containing data points you would like to add. Otherwise, you can add a singular node by selecting Manual Entry and then filling out the required information. Load from Model allows you to select other models from your model list and import their data into this model.
For more detailed information on adding new data, please go to this tutorial.
If you upload the wrong file, you can use Clear Data to clear all supply data from the model. If you want to delete a single node, you can right-click on the node. The final option, Look for a Feedstock, allows you to look through the product database and see detailed information about each product.
Step 5 - Transport Data
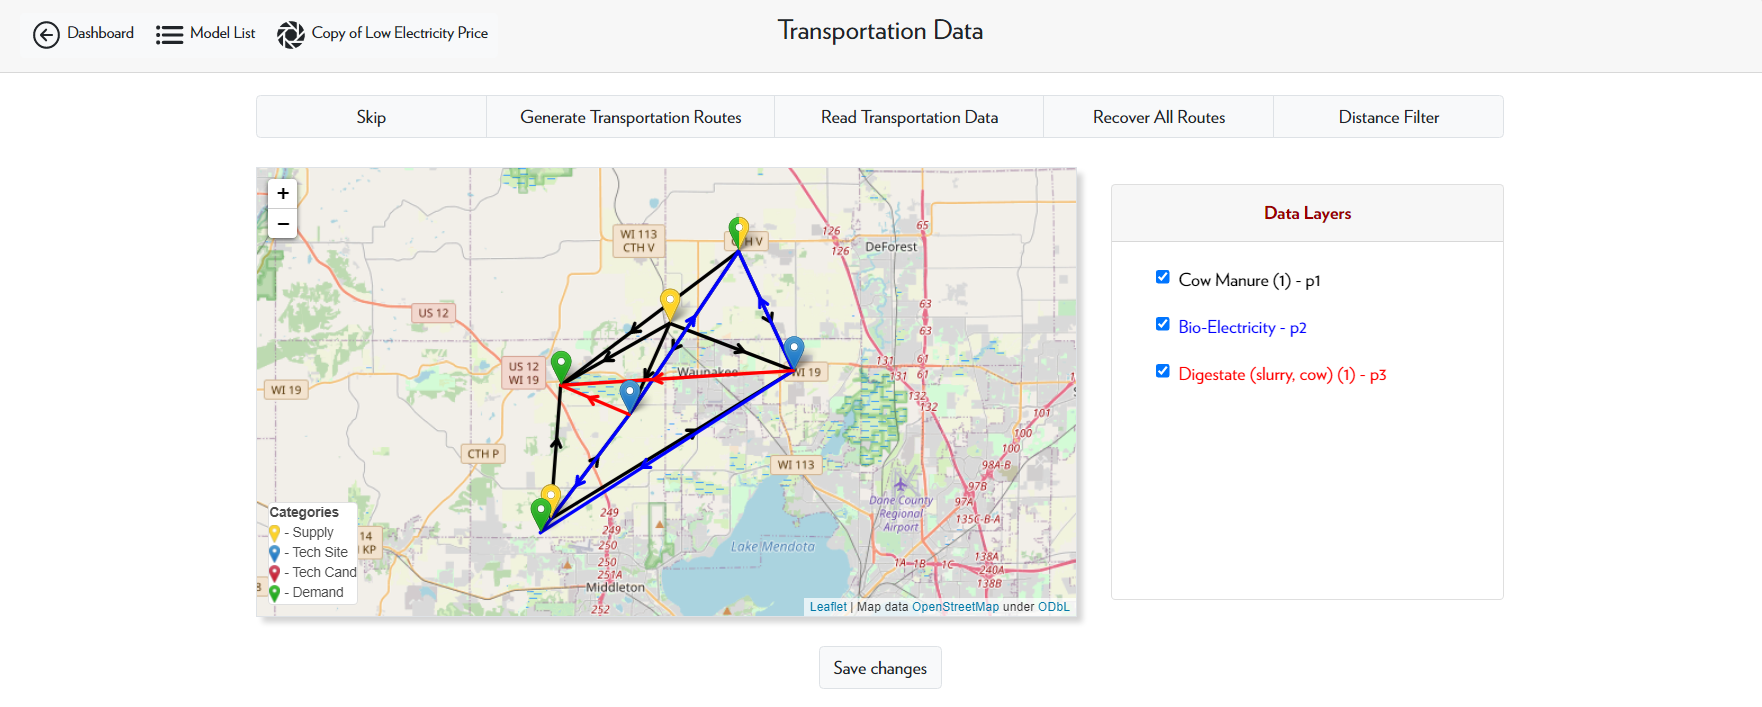
Step 5 is adding the transportation data to the model. For a copied model, there is no transportation data; you will have to add that yourself. For models with many nodes (over 200), you should select the Skip option. Otherwise, select Generate Transportation Routes. This will generate every possible pathway for each product. Make sure to select all the data layers before saving.

In this case, the model has less than 200 nodes, so we select Generate Transportation Routes. Selecting all the data layers indicates that we want to consider every possible pathway in the calculation.
The Read Transportation Data option is used when you have previously generated transportation routes and have saved them. This option is slightly faster than generating new transportation routes.
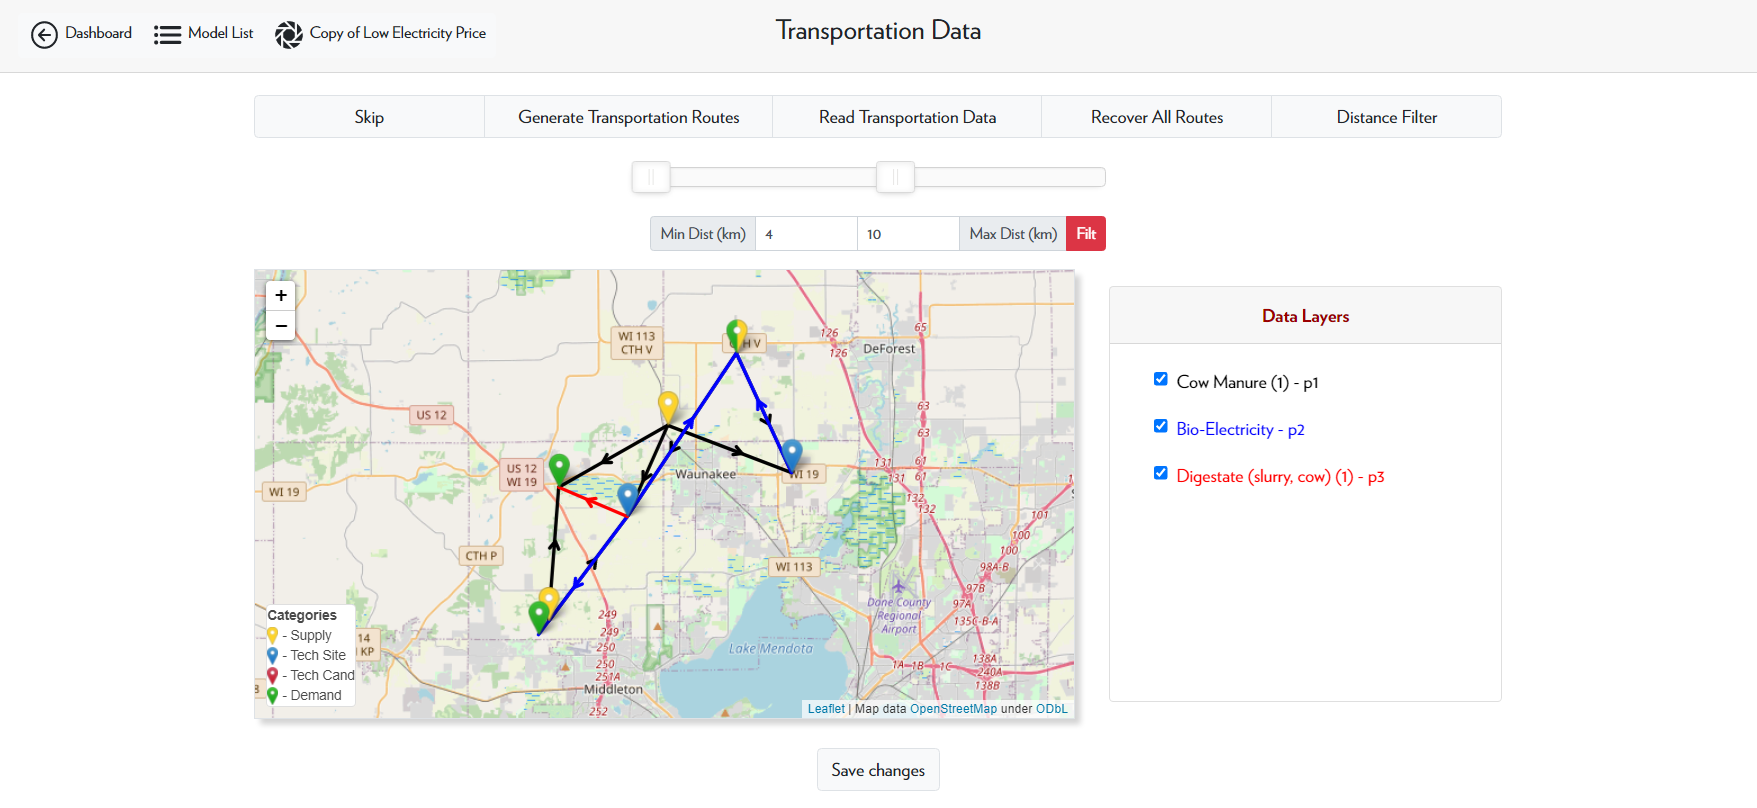
After generating transportation routes, you can now use the distance filter option. This allows you to limit the transportation pathways to those within a certain distance range. Clicking Fit will apply the selected distance filter, and clicking Recover all Routes will remove the distance filter.
